
Serverless Maps for fun and profit
Introduction#
In today’s data-driven world, interactive and visually appealing web-based maps have become an integral part of countless applications and services. Whether it’s for navigation, location-based services, or data visualization, delivering seamless and lightning-fast user experiences is paramount. In this article, we explore how to host web-based maps on Amazon Web Services (AWS) in a serverless manner, exploring how this approach not only boosts speed but also brings significant cost advantages.
Web-Based Maps: A Key to Engaging User Experiences
The ubiquity of smartphones and the proliferation of internet-connected devices have transformed how we interact with the digital world. Whether we’re exploring a new city, tracking our fitness activities, or monitoring real-time data, web-based maps provide a dynamic and immersive way to engage users. However, delivering smooth and responsive map experiences can be challenging, especially as data sizes and user demands continue to grow.
Traditionally, hosting web-based maps required dedicated servers or complex infrastructure setups, which often resulted in high operational costs and scalability limitations. Fortunately, the advent of serverless computing and the capabilities offered by AWS have strongly improved how we can deploy and manage web applications, including mapping services.
Serverless map hosting: A Game-Changer
AWS’ serverless services allow developers to build and run applications without worrying about provisioning and managing servers. This approach not only simplifies development but also offers numerous advantages, particularly when it comes to hosting web-based maps.
-
Speed and Responsiveness: With serverless hosting via CloudFront and S3, the infrastructure caches data on the edge. This means that users will experience near-instantaneous map loading and seamless interactions, translating to heightened satisfaction and engagement.
-
Cost Efficiency: One of the most compelling aspects of the serverless approach is its cost-effectiveness. Traditional hosting methods often require paying for idle server resources, which can quickly add up and strain budgets. In contrast, serverless computing on AWS charges you only for the actual compute resources consumed during map requests. As a result, you can significantly reduce operational costs and allocate resources more efficiently.
In this comprehensive guide, we’ll walk you through the steps of setting up a serverless web-based map hosting solution on AWS. From leveraging AWS Lambda for dynamic map tile querying to utilizing S3 for scalable and cost-effective data storage and using CloudFront for edge caching, you’ll learn how to harness the full potential of AWS services for a top-notch mapping experience.
Choosing a map tile format#
In the realm of digital maps, efficiency and performance are paramount. Whether you’re navigating through city streets or exploring remote terrains, quick loading times and seamless zooming can make all the difference in delivering a superior user experience. Enter PMTiles, a cutting-edge map tile format that is redefining how we interact with digital maps.
What are PMTiles?#
Traditional map tile formats, such as the popular PNG or JPEG images, can be bulky and slow to load, especially when dealing with intricate cartography or high-resolution imagery. PMTiles was specifically designed to address these limitations, offering a lightweight and performant solution for delivering map tiles.
According to the protomaps.com website
PMTiles is a single-file archive format for pyramids of tiled data. A PMTiles archive can be hosted on a storage platform like S3, and enables low-cost, zero-maintenance map applications.
Concepts include
-
A general format for tiled data addressable by Z/X/Y coordinates, which can be cartographic basemap vector tiles, remote sensing observations, JPEG images, or more.
-
Readers use HTTP Range Requests to fetch only the relevant tile or metadata inside a PMTiles archive on-demand.
-
The arrangement of tiles and directories is designed to minimize the amount of overhead requests when panning and zooming.
The current specification of PMTiles v3 can be found on GitHub.
Why PMTiles matter?#
-
Faster Loading Times: PMTiles leverages the power of vector data to store map tiles, which means that the tiles are smaller in size compared to raster image formats like PNG or JPEG. This smaller size translates to quicker loading times, enabling a seamless map browsing experience even in areas with limited network connectivity.
-
Efficient Storage: Due to their compact size, PMTiles require less storage space than traditional map tile formats. This advantage is particularly significant for applications with large map datasets, as it reduces the infrastructure costs associated with storing and serving the maps.
-
Dynamic Styling: PMTiles offer the flexibility of dynamic styling, allowing developers to modify the appearance of map tiles on the fly. By adjusting colors, labels, and map features in real-time, developers can create customized maps that cater to the specific needs of their users.
-
Offline Accessibility: One of the most impressive features of PMTiles is its ability to support offline access. By preloading PMTiles on a user’s device, applications can ensure uninterrupted map access, even when an internet connection is not available. This functionality is invaluable for users in remote locations or areas with unstable network coverage. Also, usage of cache headers like
Cache-Control, when used in a browser, can save bandwidth and rendering time.
How can PMTiles be used?#
PMTiles can be used with common maps rendering engines like Leaflet, MapLibre GL or OpenLayers by using the protomaps.js library. Examples of how to integrate it can be found on the website, or the index.html and basemap.html examples in our repo.
Generating PMTiles from OpenStreetMap data#
The first step for hosting your self-hosted maps can be downloading publically available map data from OpenStreetMap. This data is then to be transformed into a compatible basemap layer for use with PMTiles.
See the documentation about vector basemap layers to get an idea of how this works in general. The following is necessary to mention though (from protomaps.com):
The organization of features with layers and tags is specific to Protomaps services; this means that map styles are not directly portable with other systems such as OpenMapTiles or Mapzen tiles
This step can be automated to a high extent.
Solution#
Enter ServerlessMaps! The project is outlined in the following paragraphs.
Architecture#
In our example implementation, we will only rely on a very few services:
-
AWS Lambda (proxying the map tile requests to the S3 origin)
-
Amazon CloudFront (globally distributed CDN)
-
Amazon S3 (storing the PMTiles files, and the map example website)
-
Amazon CloudWatch (keeping the logs of the Lambda function)
The overall architecture looks like this:

Deployment#
The deployment of ServerlessMaps must be done in multiple steps. From a high-level perspective, they are
-
Setting up the project from GitHub locally
-
Setting up the local environment to prepare the basemaps
-
Build the desired basemaps as PMTiles file
-
Deploy the serverless infrastructure on AWS
-
Upload the basemaps and example websites to S3 (done automatically)
Setting up the project locally#
To clone the project to your local machine, please use
git clone https://github.com/serverlessmaps/serverlessmaps.gitin your desired directory. Then, do a cd serverlessmaps in the directory you ran the above command.
Setting up the local environment#
This step assumes that you’re using MacOS as the operating system. If so, you can run
scripts/install_macos.shto install the dependencies needed to build the basemaps as PMTiles file. This will install the latest OpenJDK and Maven, which are both necessary for the basemaps build.
If your system is not using MacOS, you can also install those two dependencies manually.
The next step is to compile the Planetiler build profile, that later can generate the PMTiles file:
scripts/compile_basemaps_builder.shThis will create a new directory builder that will contain the JAR with the runnable builder.
Build the desired basemaps#
To build a basemap with the before compiled builder, run
scripts/build_pmtiles.shThis will build a map with a default area of Hamburg / Germany. If you want to generate maps for other areas, have a look at the OSM (sub-)region names, e.g. on the https://download.geofabrik.de/ server.
For example, if you’d like to generate a map for the whole of Europe, you could run
scripts/build_pmtiles.sh europePlease be aware that this will run for several hours depending on your machine, and will generate a PMTiles file of around 45GB. This file will take some time to upload to S3 in the next step as well. The recommendation is if you just want to try out this project, use the default hamburg sub-region, which is around 35MB.
Deploy the serverless infrastructure#
This project assumes that you already have set up your AWS credentials locally so that the Serverless framework can use it accordingly.
To deploy the serverless AWS infrastructure, you can do a cd iac from the project’s root directory, and then use
sls deployto deploy the necessary stack.
You can customize some parameters for the deployment:
-
region: The AWS region you want to deploy your stack to (default:us-east-1) -
stage: The stage name (default:prd) -
cors: The allowed hostname for the CORS header (default:*)
The following will deploy the stack to the eu-central-1 region with the stage name dev and the allowed CORS hostname mymapservice.xyz:
sls deploy --region eu-central-1 --stage dev --cors mymapservice.xyzStack output#
The deployment of the stack will generate an output like this on the console:
---------------------------------------------------------------------------------
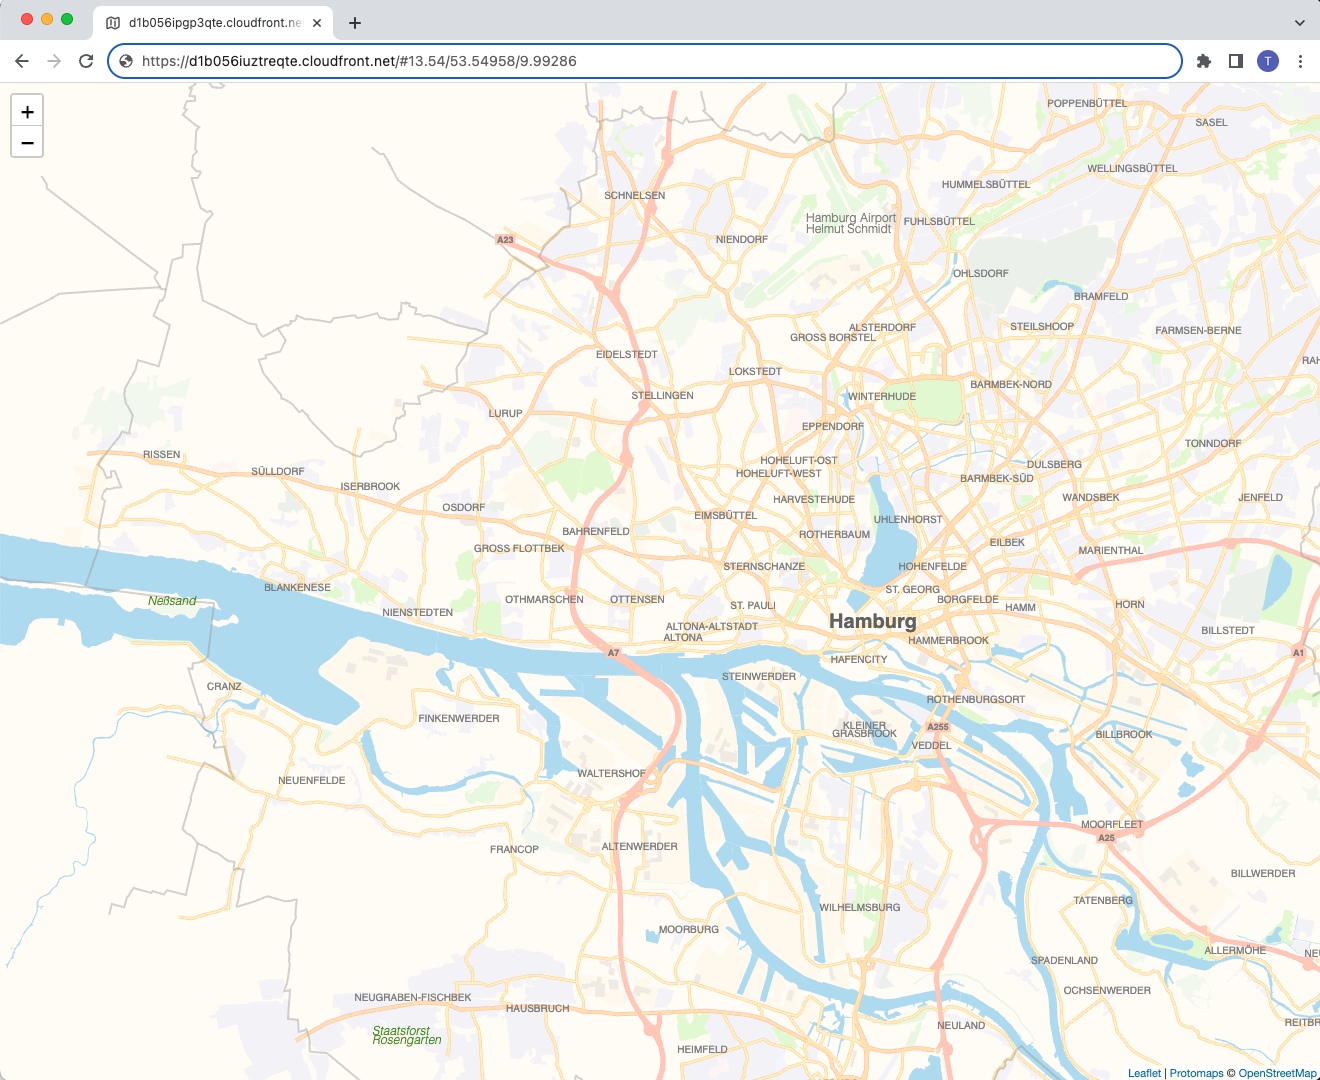
-> The map can be viewed at https://d1b056iuztreqte.cloudfront.net/#13.54/53.54958/9.99286
-> The basemap themes can be viewed at https://d1b056iuztreqte.cloudfront.net/basemap.html#13.54/53.54958/9.99286
-> Please manually do a 'npm run website:sync' on your console to sync the static website assets if you changed them after the last deployment
-> Afterwards, run 'npm run website:invalidate' to invalidate the website's CloudFront distribution cache
---------------------------------------------------------------------------------Automatically created files#
There will be two automatically created files based on the setting you chose before:
-
website/urlConfig.js: This contains the CloudFront Distribution hostname (variabletilesDistributionHostname) for the caching of the PMTiles. This is assigned by CloudFront during deployment. -
website/tilePath.js: This contains the neededtilePathvariable, which depends on the area you chose for the basemap. This is generated by thescripts/build_pmtiles.shscript automatically.
Upload the basemaps and example websites#
The basemap that was generated in the step before the deployment, and the two example websites are synched automatically to the website S3 bucket.
If you want to deploy your web application/website, you need to run the sync manually via npm run website:sync. After that, the CloudFront cache needs to be invalidated as well to show the new content. This can be done via npm run website:invalidate, both from the iac directory.
Result#
If everything went well, you can access the URL (https://d1b056iuztreqte.cloudfront.net/#13.54/53.54958/9.99286 in the above example output) to view your basic map:
Conclusion#
Hosting web-based maps on AWS in a serverless manner opens up a world of opportunities for delivering blazing-fast, interactive, and cost-efficient map services. By taking advantage of AWS’s scalable infrastructure and pay-as-you-go pricing model, you can create an outstanding user experience without breaking the bank.