
Query S3 Tables with DuckDB
DuckDB has gained a new feature in preview, that allows querying of Iceberg data in AWS S3 Tables.
Setting up a S3 Table#
There are multiple steps which need to be performed to set up a S3 Table that can be then queried with tools like DuckDB. As the Infrastructure as Code (IaC) support from is not yet complete, a manual setup in the AWS Console will be used.
Creating a S3 Table Bucket#
Open the AWS Console, and go to “Amazon S3” → “Table Buckets”, and then click on the “Create table bucket” button. Enter a name for the table bucket.
If you do this the first time, also activate the “Integration with AWS analytics services” for the specific region.
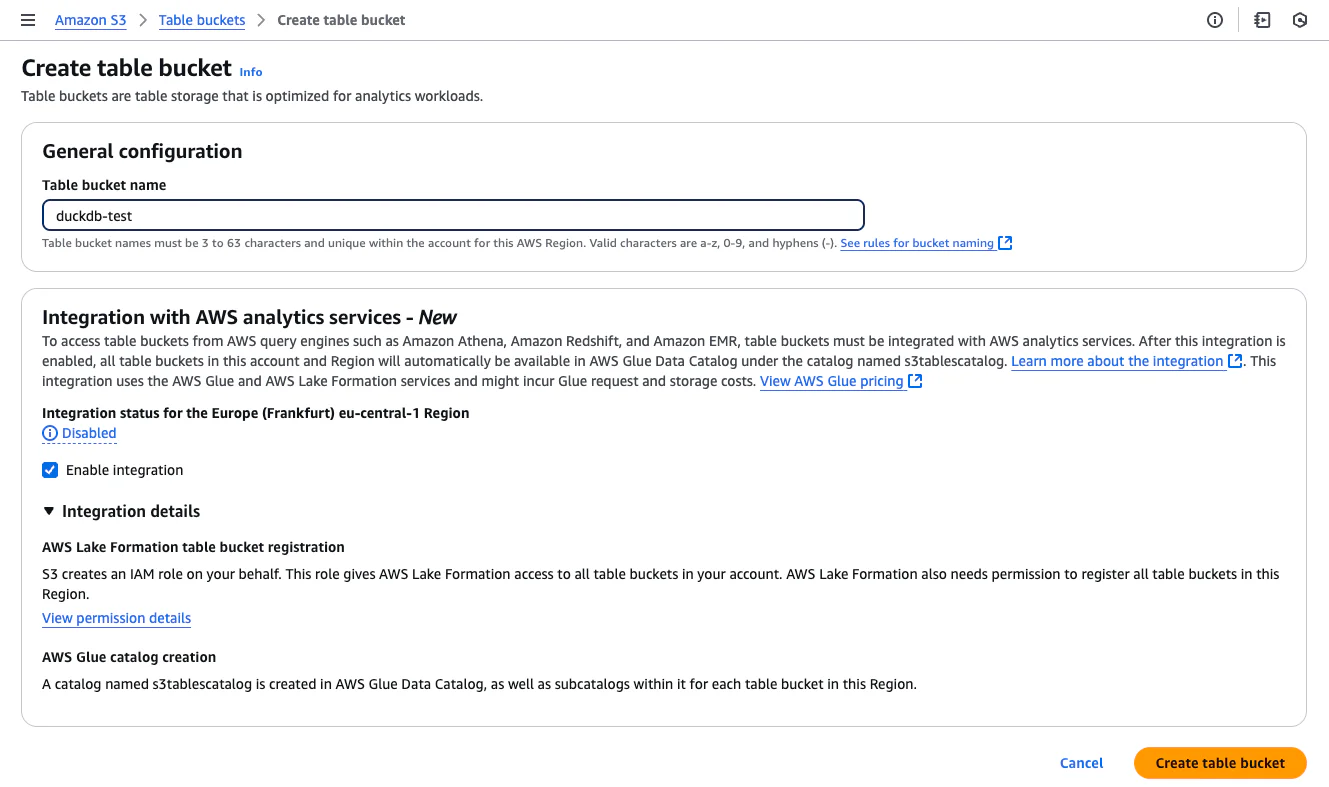
Press the “Create table bucket” button again, and the Table Bucket will be created.
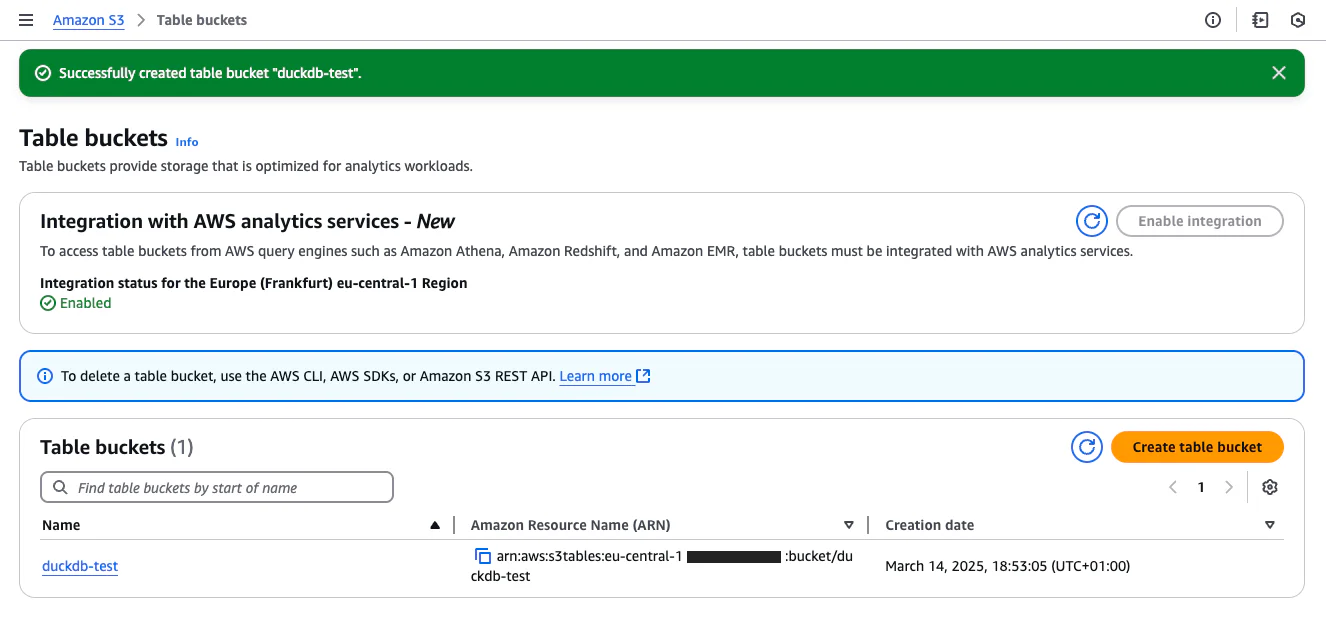
Creating a S3 Table via Athena#
As a next step, you can create a S3 Table with Athena. Click on the “Create table with Athena” button:
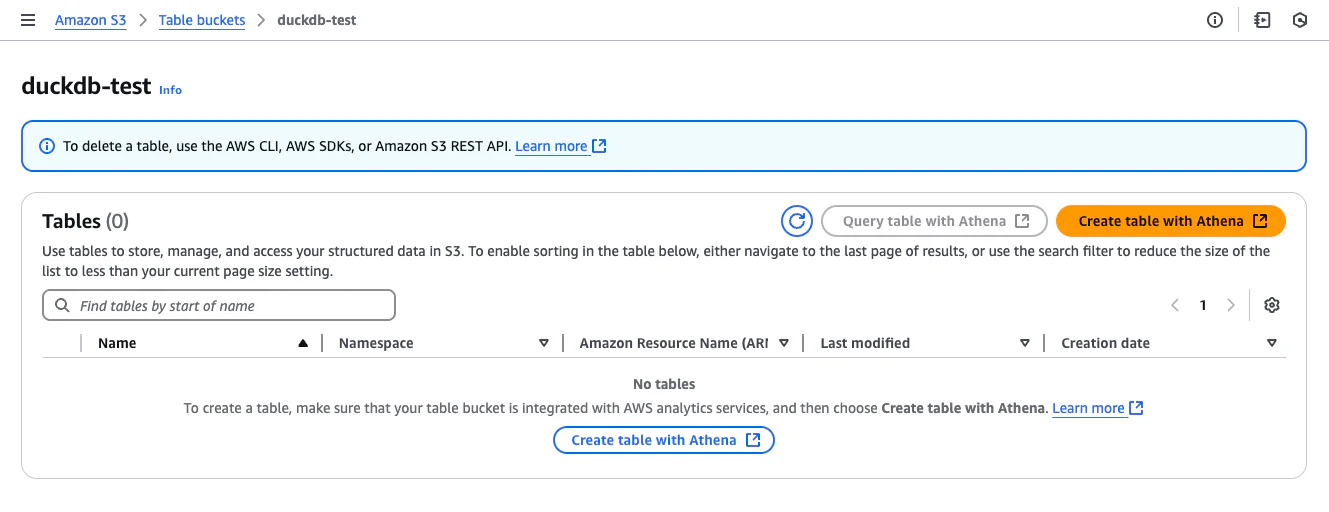
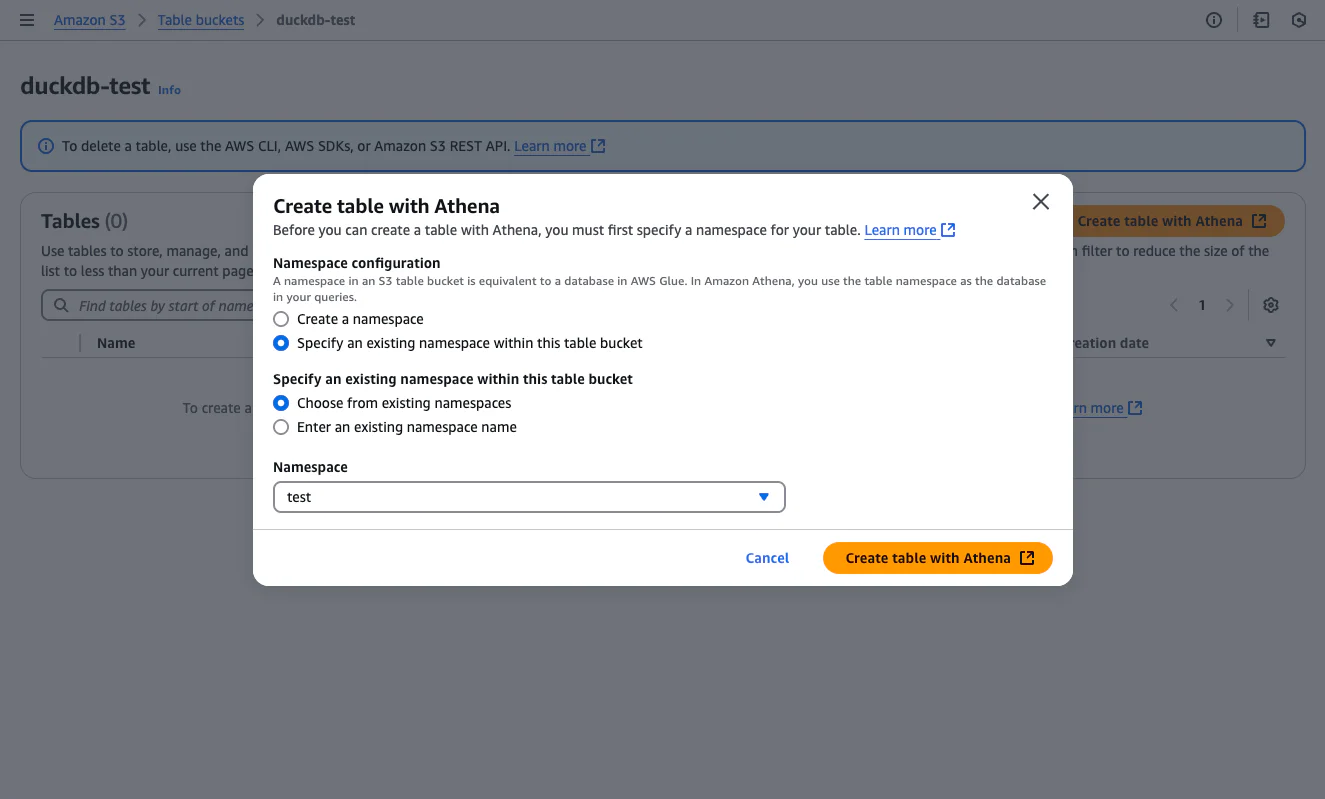
If you haven’t setup a Namespace yet, you need to do this in the next step, before you can actually create the S3 Table:
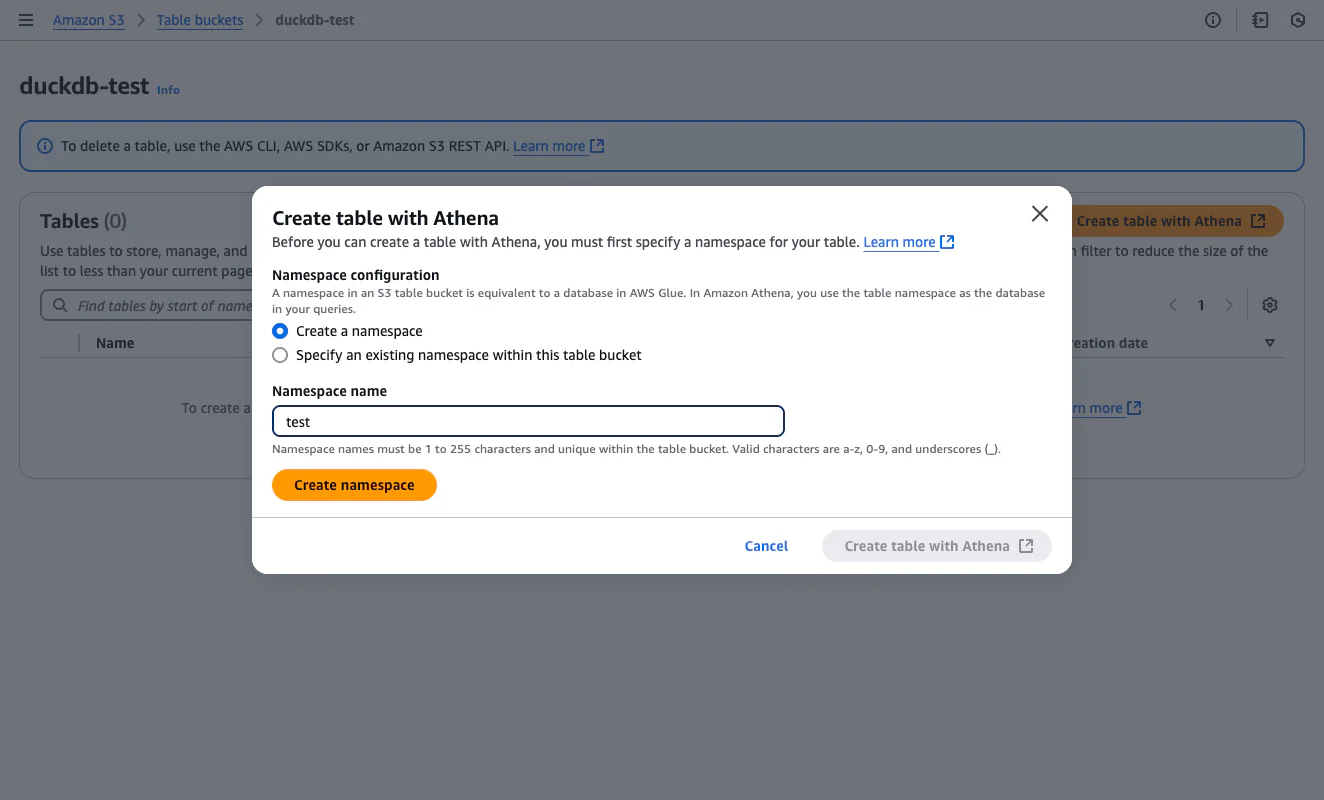
If you created a namespace before, you can select it and finally continue to the S3 Table creation, by clicking on “Create table with Athena”:
This will open a new tab with the Athena console:
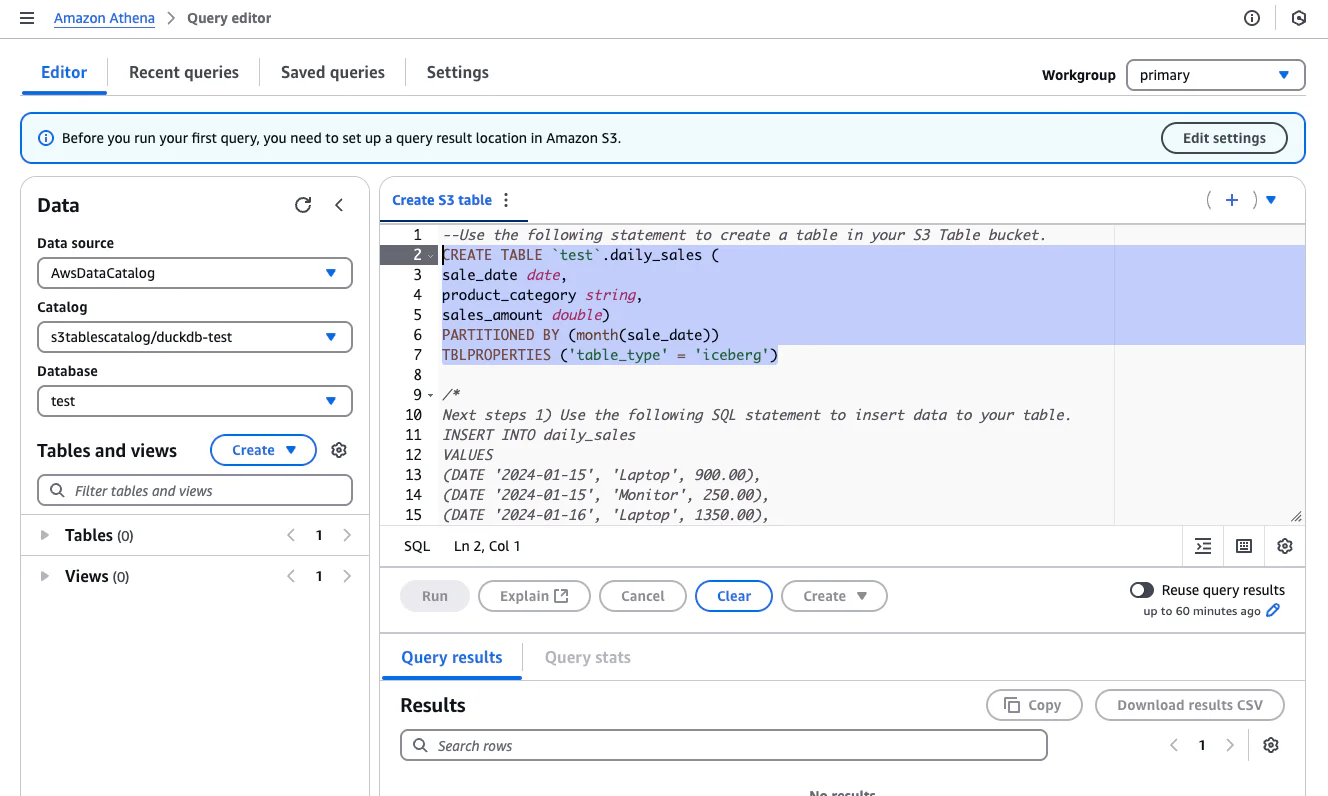
For our testing purposes, we can just use the example table DDL that Athena provides. Select the CREATE TABLE statement, and click on the “Run” button:
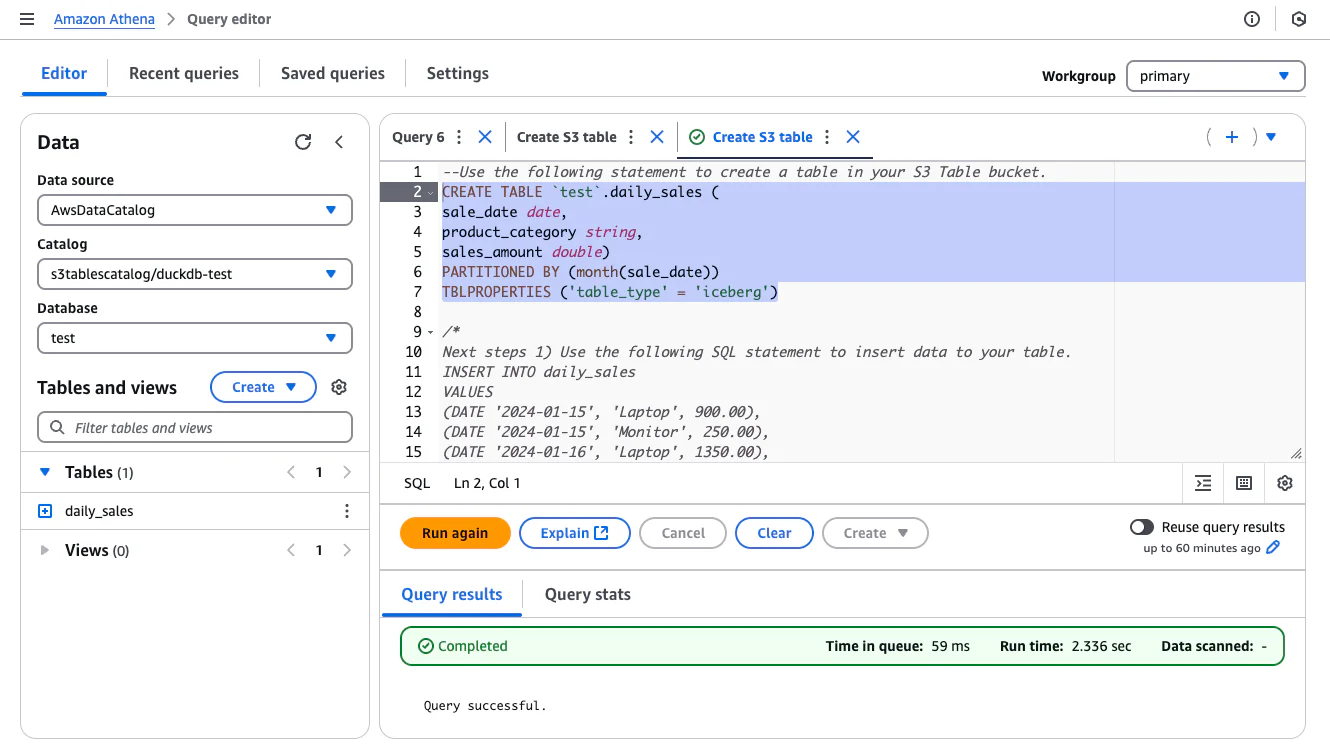
Yay, we successfully created a new S3 Table with Iceberg support!
Inserting some test data via Athena#
As we want to query some data from DuckDB later, we need to insert some sample data in our newly created table as well. Therefore, just uncomment the INSERT statement below the CREATE TABLE statement, and click on the “Run” button:
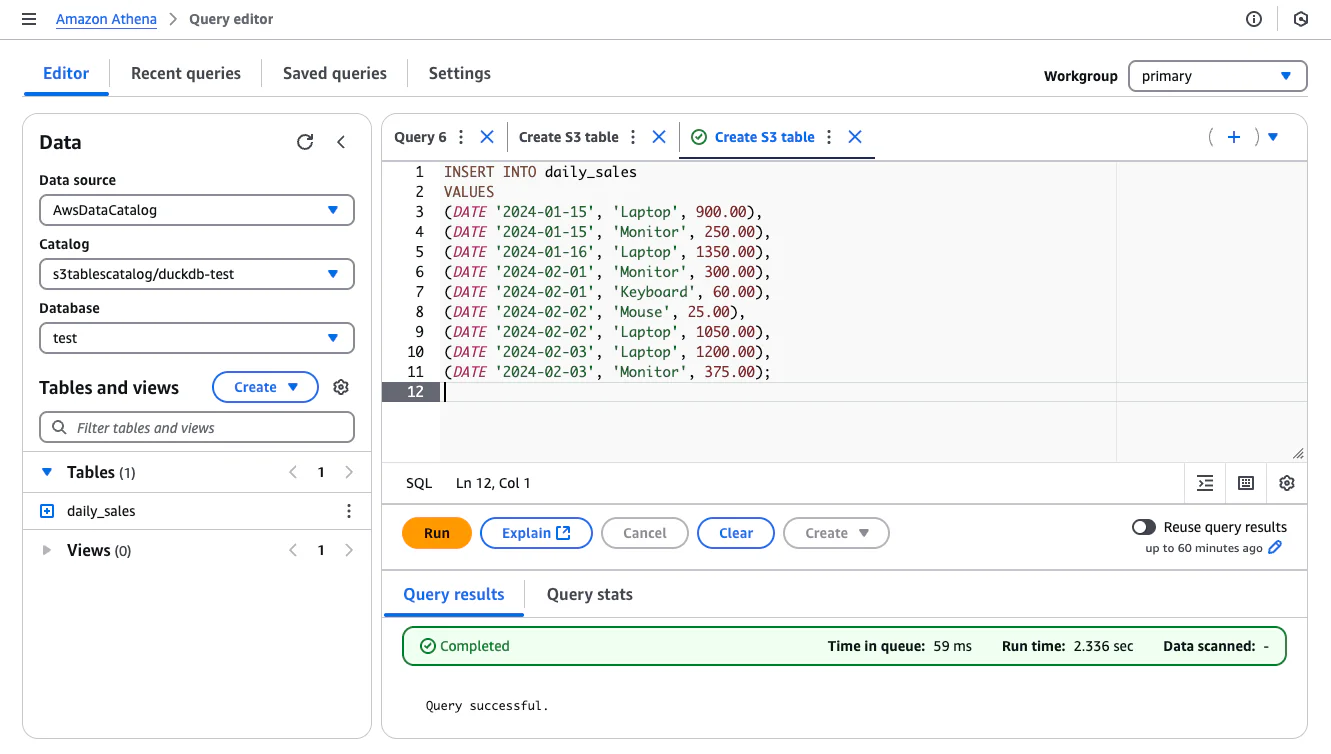
This takes surprisingly long for those few records, but if successful looks like this:
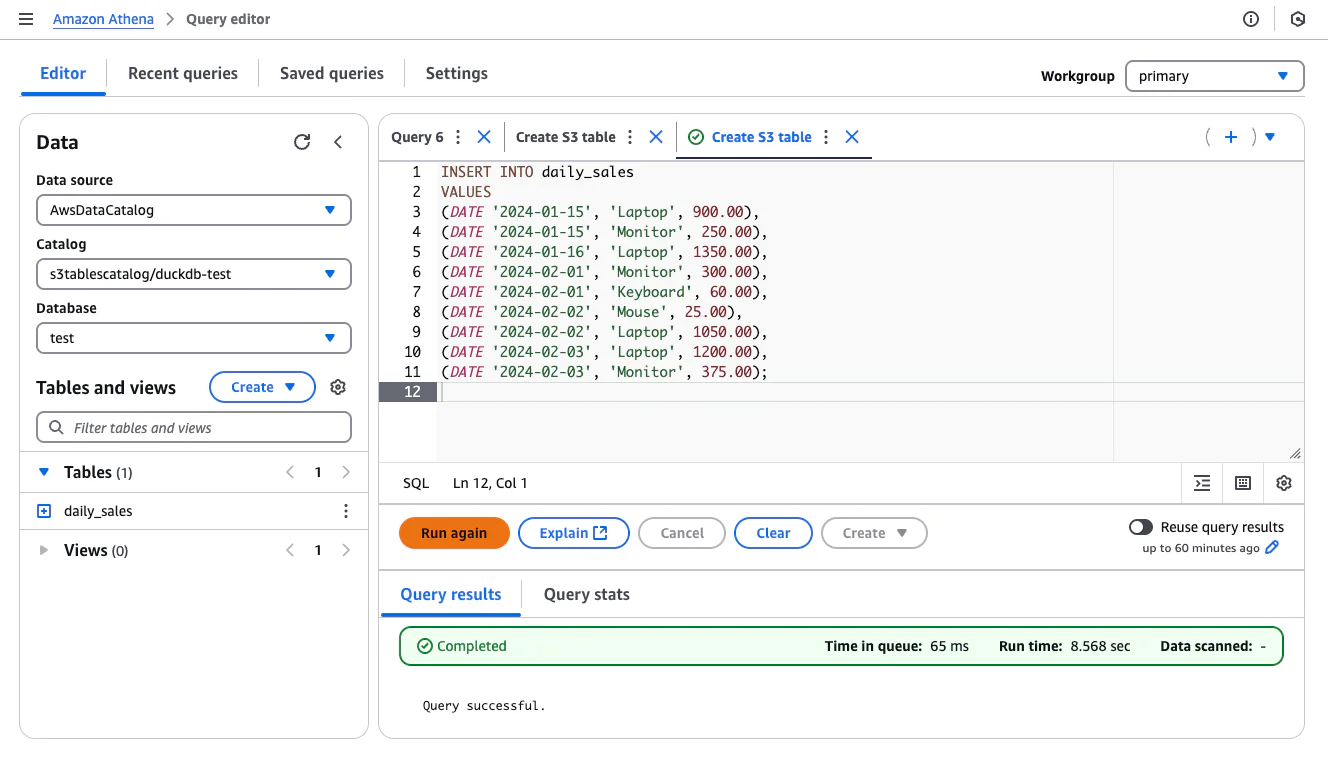
Now, we have established the infrastructure and data we need for actually start to query the S3 Table with DuckDB!
IAM permissions#
But before, you need to make sure the the IAM role you’re planning to use for the test has the appropriate permissions. Otherwise you’ll not be able to perform the queries.
{
    "Version": "2012-10-17",
    "Statement": [
        {
            "Effect": "Allow",
            "Action": [
                "s3tables:*",
                "YOUR OTHER IAM permissions",
            ],
            "Resource": "*"
        }
    ]
}
The `s3tables:*` is the relevant part, as it will enable you to use all IAM actions respective to the s3tables service.
Going forward, it’s assumed that you have setup your AWS credentials on the machine you want to use DuckDB from to query the S3 Table, the details are not covered in this article, but a starting point in the docs is here.
Using the latest DuckDB version#
Before continuing, please make sure that you have installed the version 1.2.1 of DuckDB. Otherwise this will not work!
Installing extensions#
Open DuckDB from your terminal:
$ duckdb --version
v1.2.1 8e52ec4395

$ duckdb
The first step is to install the relevant extensions (aws, httpsfs and iceberg) in their nightly versions (latest):
FORCE INSTALL aws FROM core_nightly;
FORCE INSTALL httpfs FROM core_nightly;
FORCE INSTALL iceberg FROM core_nightly;
Creating a S3 secret#
As the next step, you need to create a secret, so that DuckDB can automatically authenticate you via the credential chain provider (you need to have set this up beforehand, see above):
CREATE SECRET (
  TYPE s3,
  PROVIDER credential_chain
);
Attach the database#
Next, we need to attach the actual remote database to our local DuckDB instance. Please make sure that the ARN is correct, you can copy the ARN from the Table Buckets details:
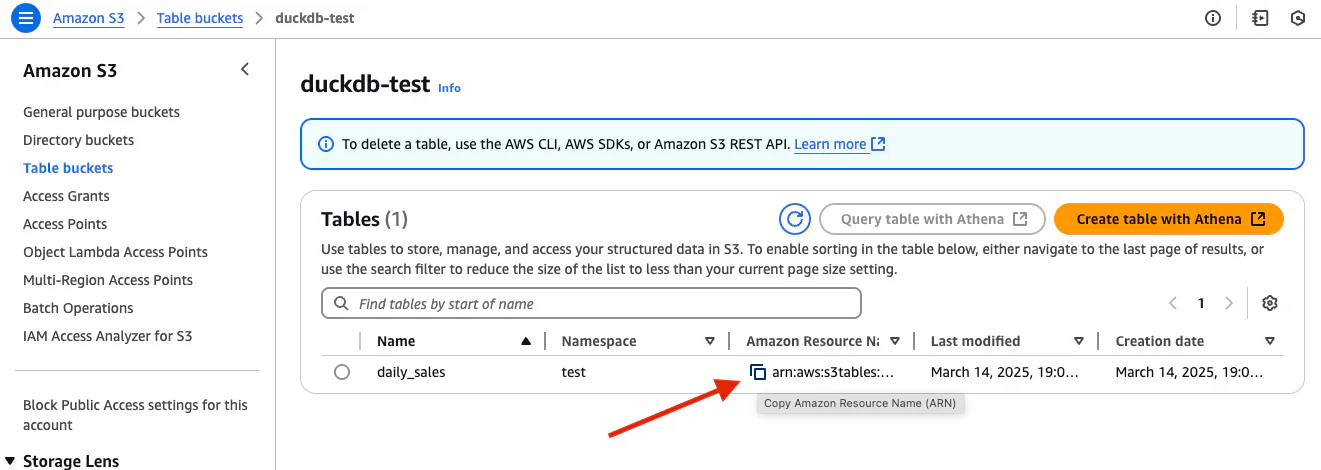
Replace your ARN in the statement below, and run it:
ATTACH 'arn:aws:s3tables:us-east-1:12345678912:bucket/duckdb-test'
  AS test_db (
    TYPE iceberg,
    ENDPOINT_TYPE s3_tables
);
Show all tables in the Table Bucket’s Namespace#
Run the below statement, which will show you a list of your S3 Tables:
SHOW ALL TABLES;

┌──────────────┬─────────┬─────────────┬─────────────────────────────────────────────┬─────────────────────────┬───────────┐
│   database   │ schema  │    name     │                column_names                 │      column_types       │ temporary │
│   varchar    │ varchar │   varchar   │                  varchar[]                  │        varchar[]        │  boolean  │
├──────────────┼─────────┼─────────────┼─────────────────────────────────────────────┼─────────────────────────┼───────────┤
│ test_db      │ test    │ daily_sales │ [sale_date, product_category, sales_amount] │ [DATE, VARCHAR, DOUBLE] │ false     │
└──────────────┴─────────┴─────────────┴─────────────────────────────────────────────┴─────────────────────────┴───────────┘
Querying the S3 Table#
Finally, you can now query your S3 Table:
select * from test_db.test.daily_sales;
┌────────────┬──────────────────┬──────────────┐
│ sale_date  │ product_category │ sales_amount │
│    date    │     varchar      │    double    │
├────────────┼──────────────────┼──────────────┤
│ 2024-01-15 │ Laptop           │        900.0 │
│ 2024-01-15 │ Monitor          │        250.0 │
│ 2024-01-16 │ Laptop           │       1350.0 │
│ 2024-02-01 │ Monitor          │        300.0 │
│ 2024-02-01 │ Keyboard         │         60.0 │
│ 2024-02-02 │ Mouse            │         25.0 │
│ 2024-02-02 │ Laptop           │       1050.0 │
│ 2024-02-03 │ Laptop           │       1200.0 │
│ 2024-02-03 │ Monitor          │        375.0 │
└────────────┴──────────────────┴──────────────┘References#
The following article is a great start:
There are some videos from the Amazon Pi Day where this was introduced:
The following PRs are relevant for this new feature
An test with some example code can be found under